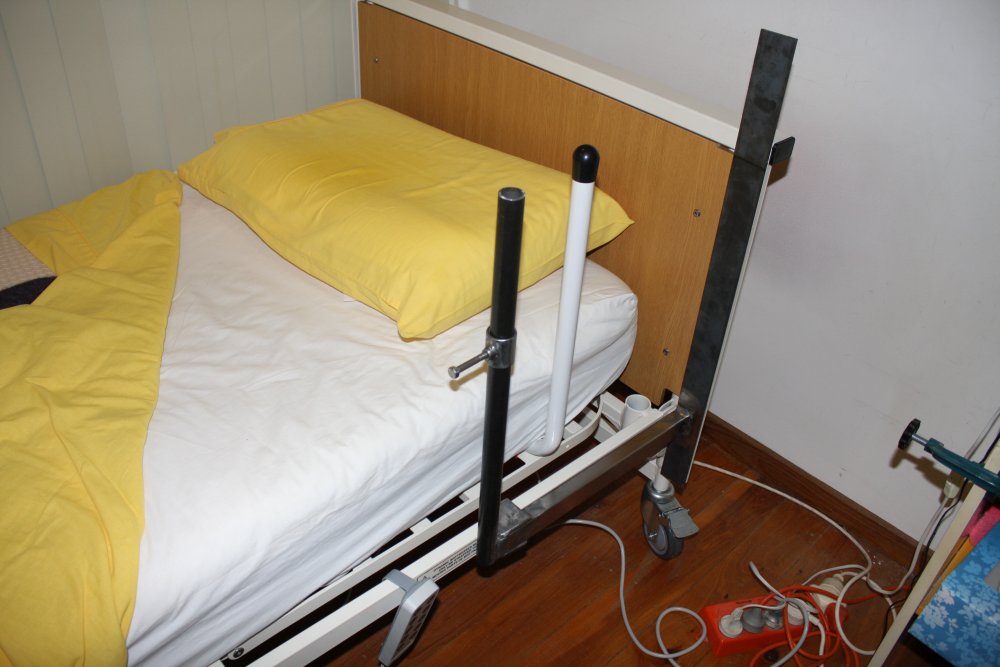
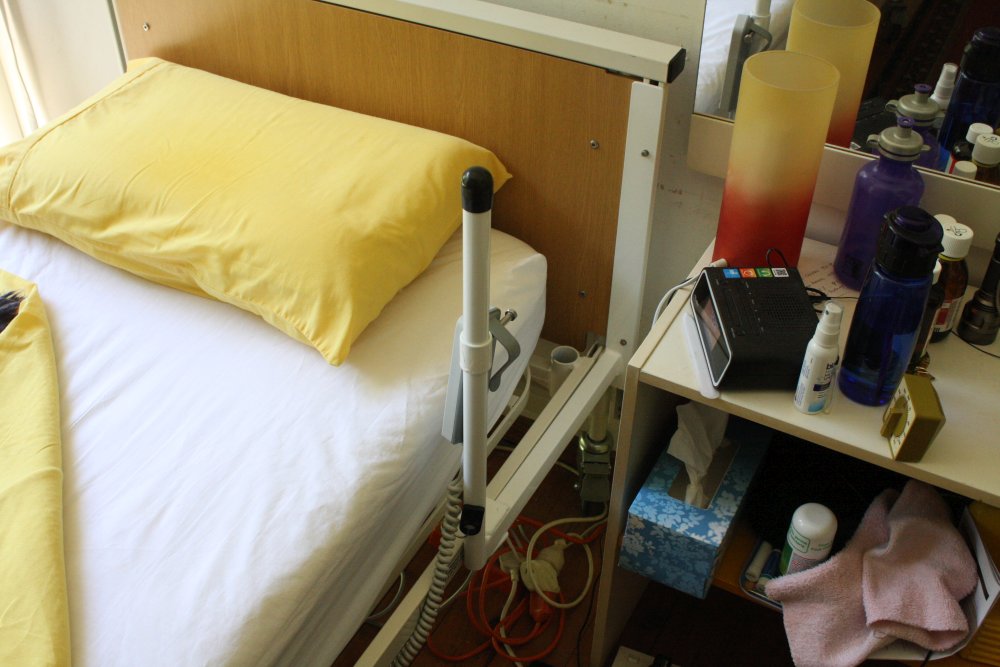
When you are 87 and recovering from a fractured vertebra (like my mum), getting out of bed in the morning isn't easy. Even reaching over to the bedside table isn't easy.
Her old bed was a plain wooden frame with solid mattress base. With that one for a hand-grip she had a simple bit of bent pipe, commercially made for just this purpose. It slips between the mattress and base, and worked well.
Then during slow recovery from the spinal fracture she bought an electric lift bed. But there's a problem — it has an open steel framework on which the mattress sits. Her old hand-grip tends to fall through the gaps, while if tied to the frame pieces isn't in the right place.
So, this post is a simple one about metalworking, to make a post. Something to grab onto and hoist yourself up. Perhaps we could all use such a metaphorical life-aid, but her need was more literal.
The other problem with the lift-bed, is the lack of attachment points. So this 'simple bar' had to be a bit complicated to compensate. No point explaining, the pictures will make it clear.
 |
 |
 |
 |
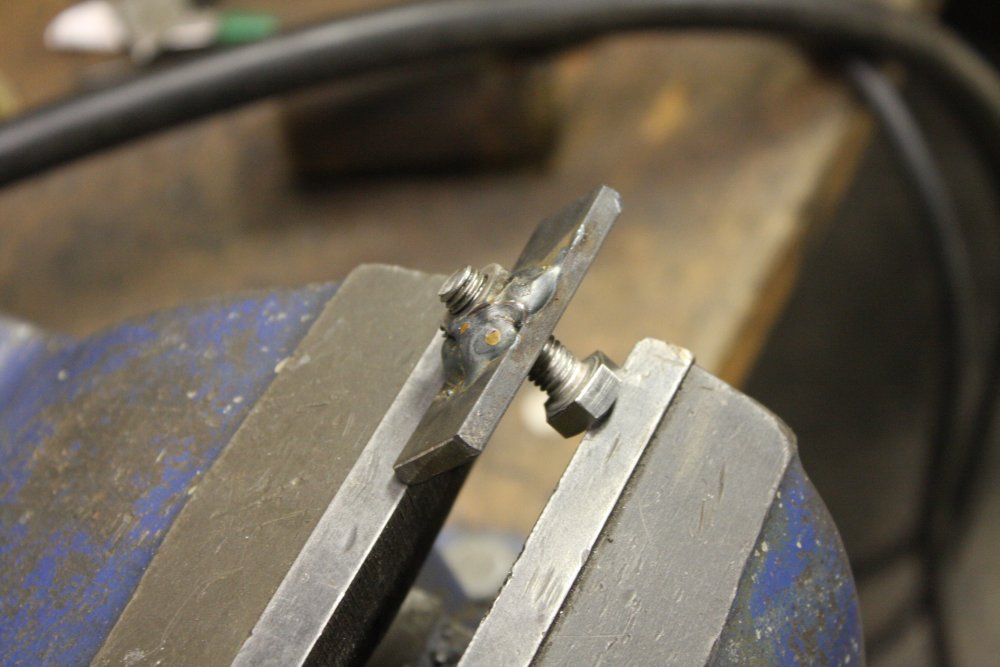 |
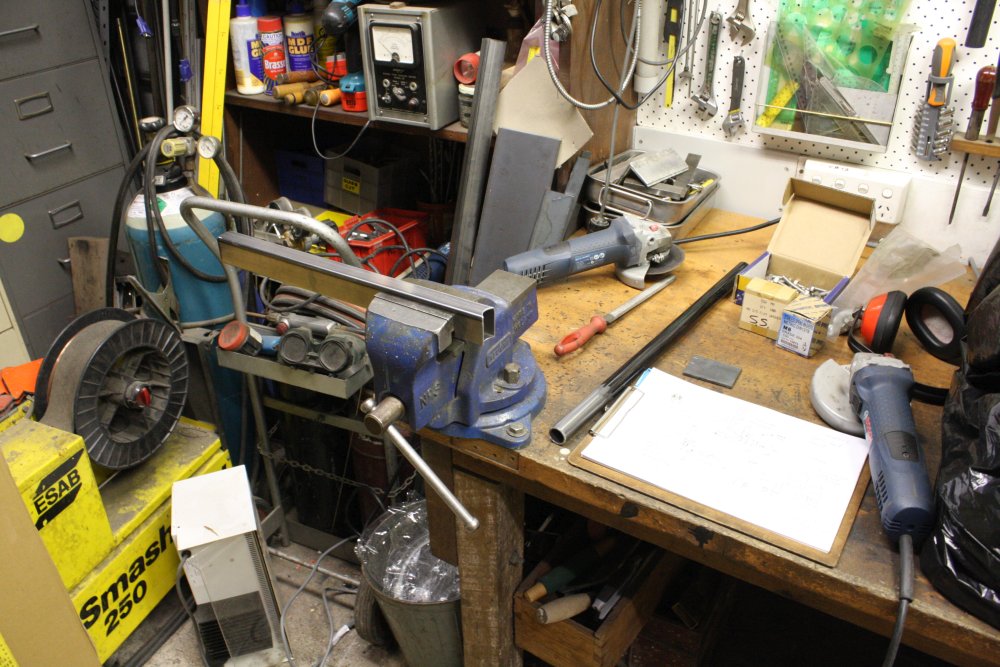
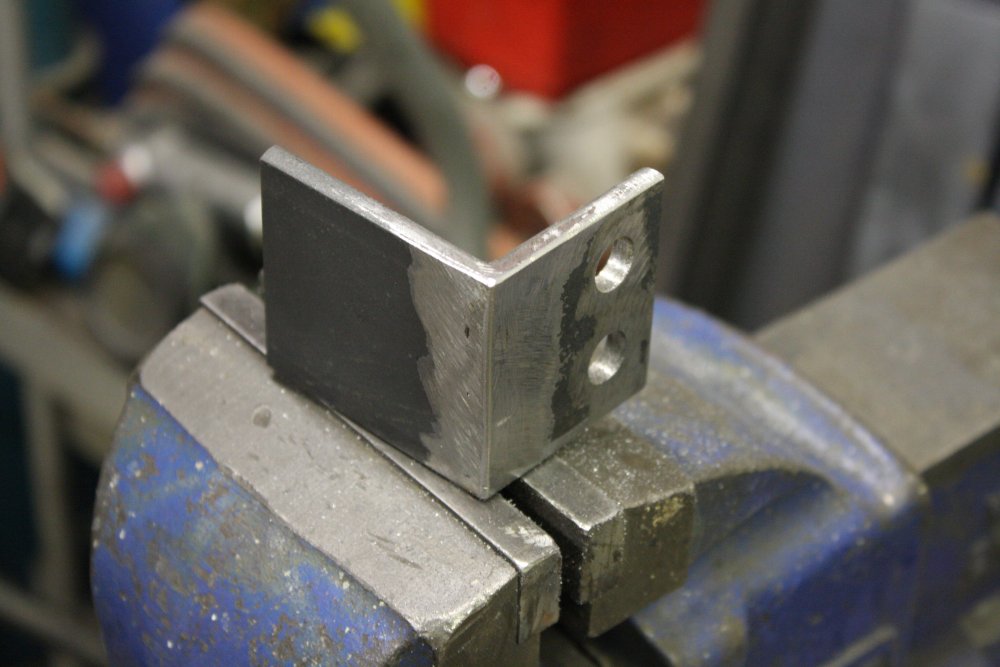
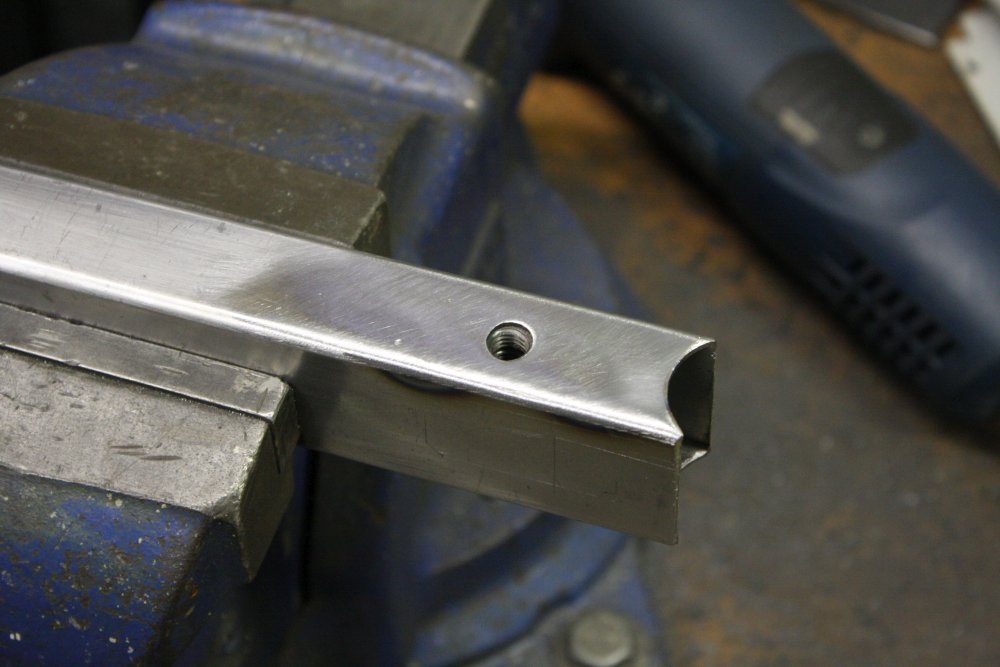
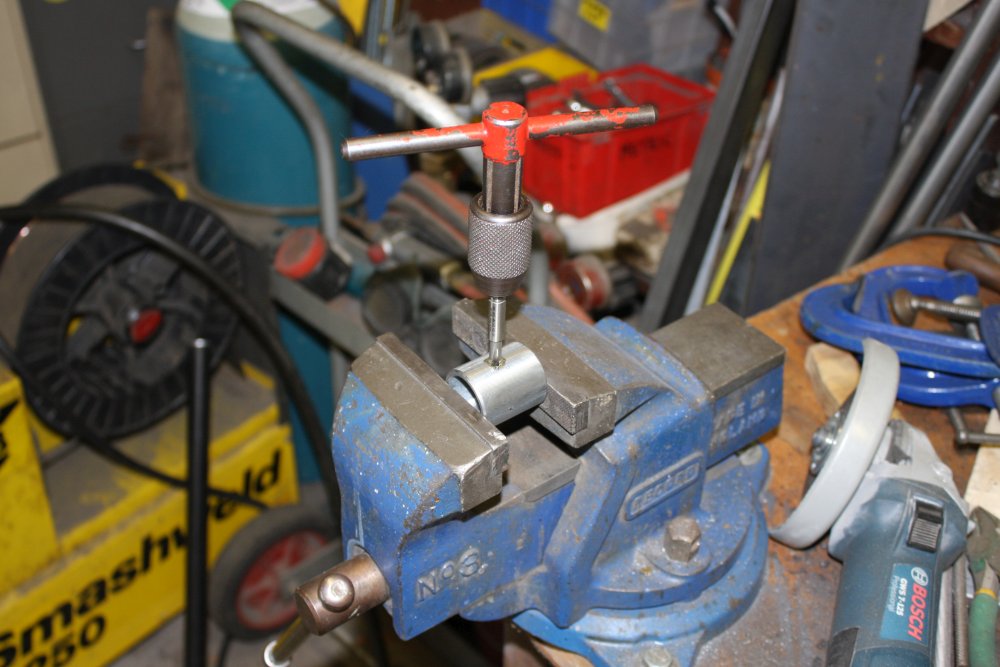
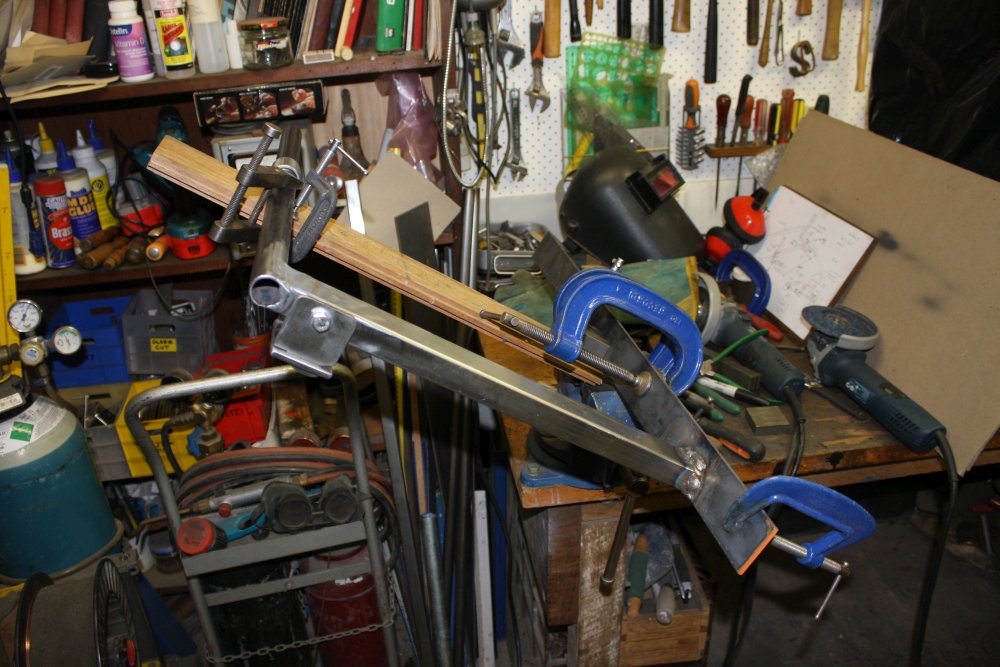
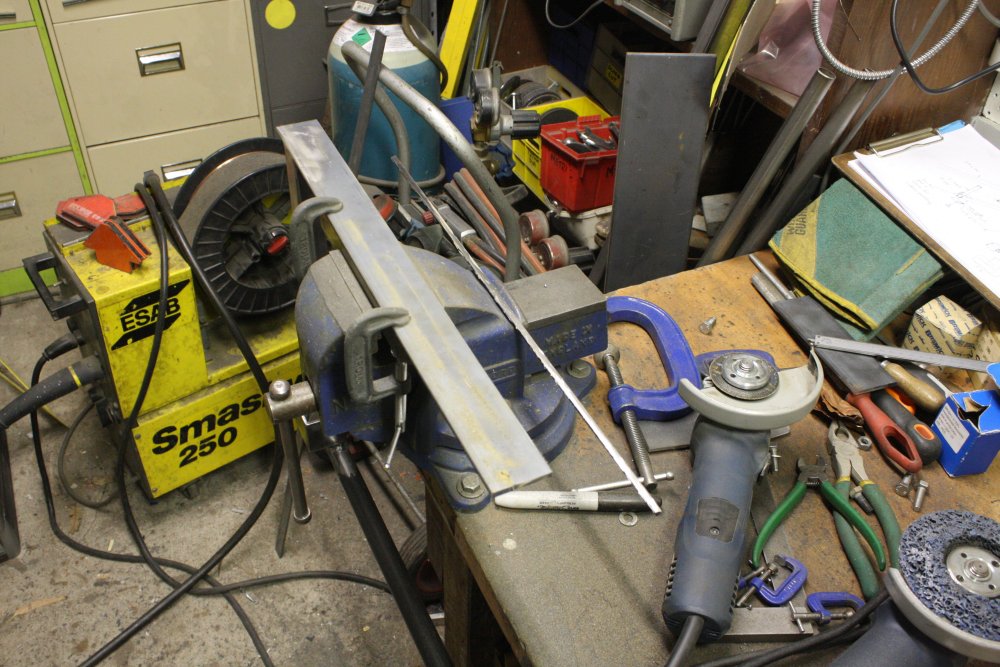
1. Rectangular section, to round bar. Preparing what will be a welded joint. Lots of leveraged force on this.
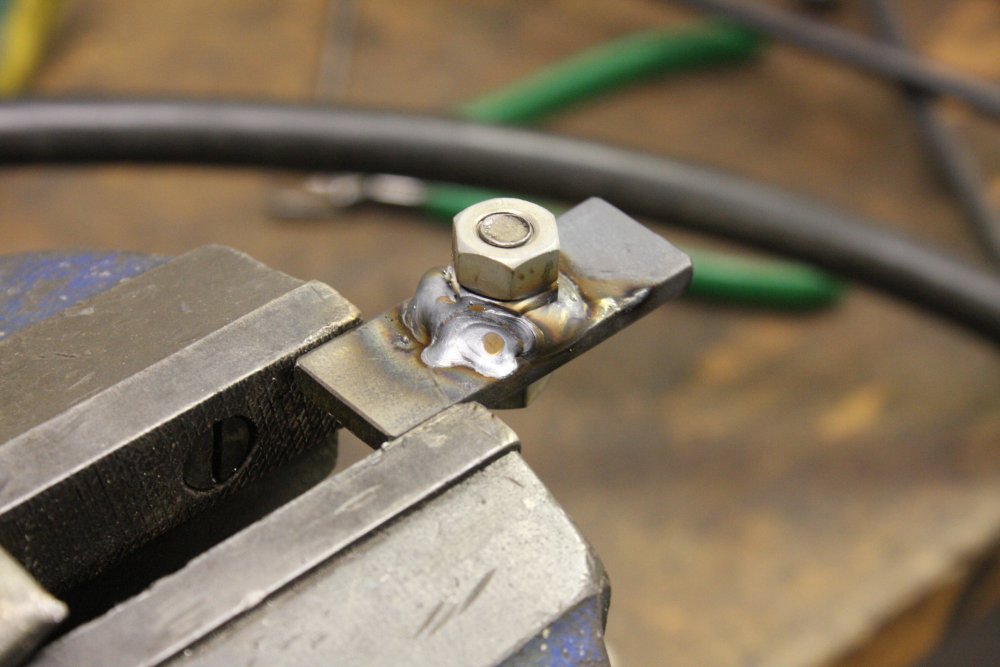
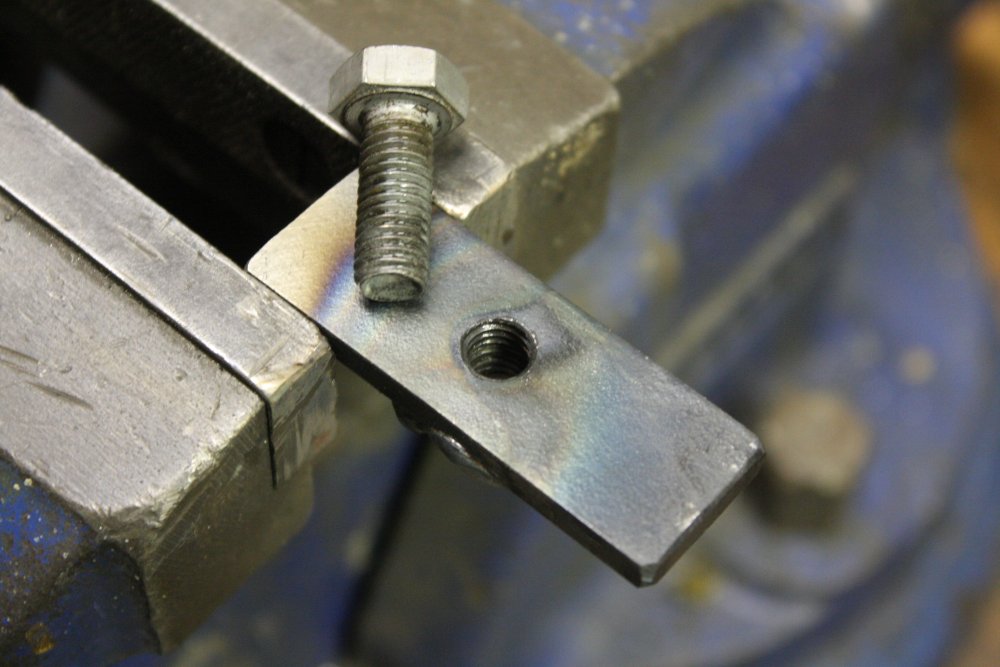
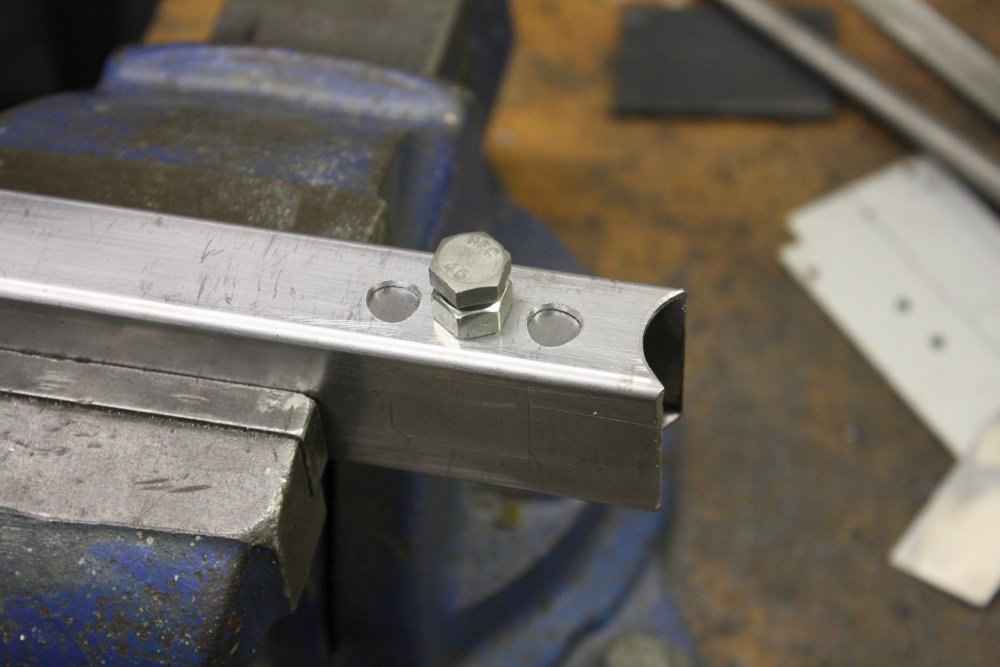
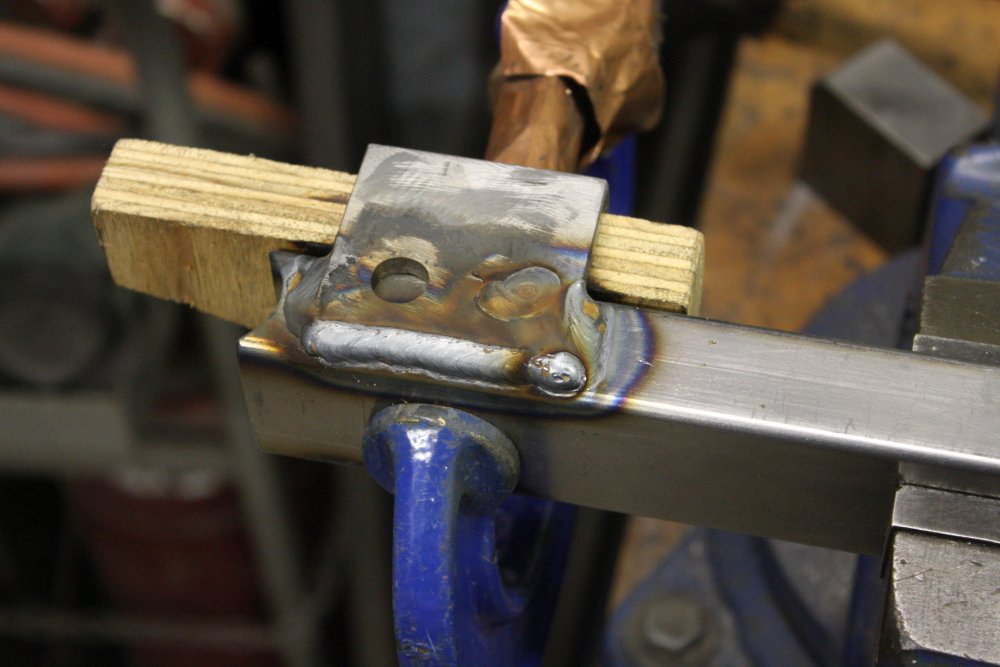
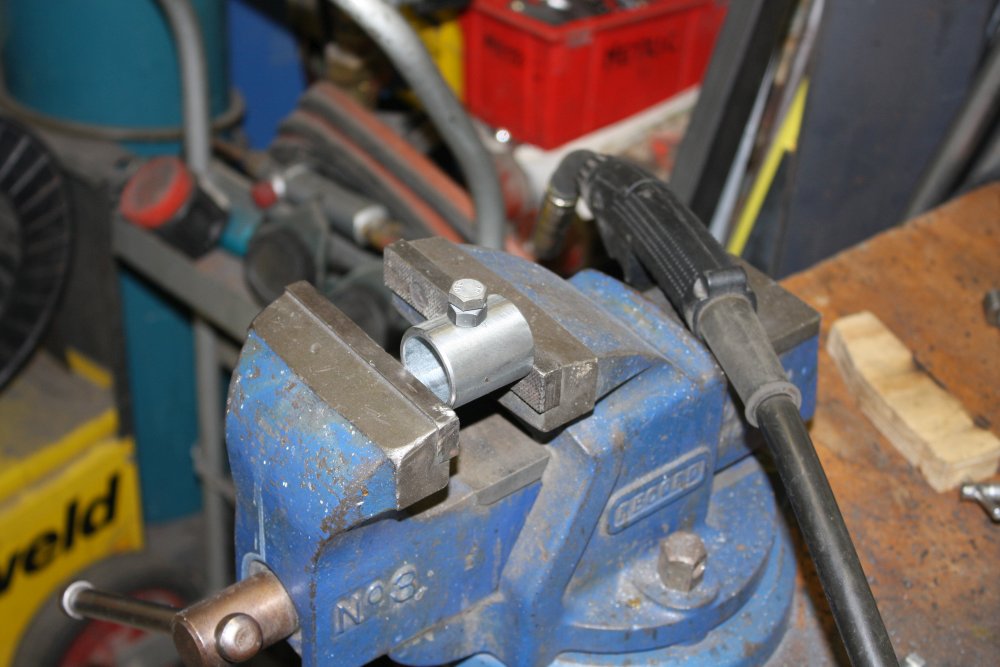
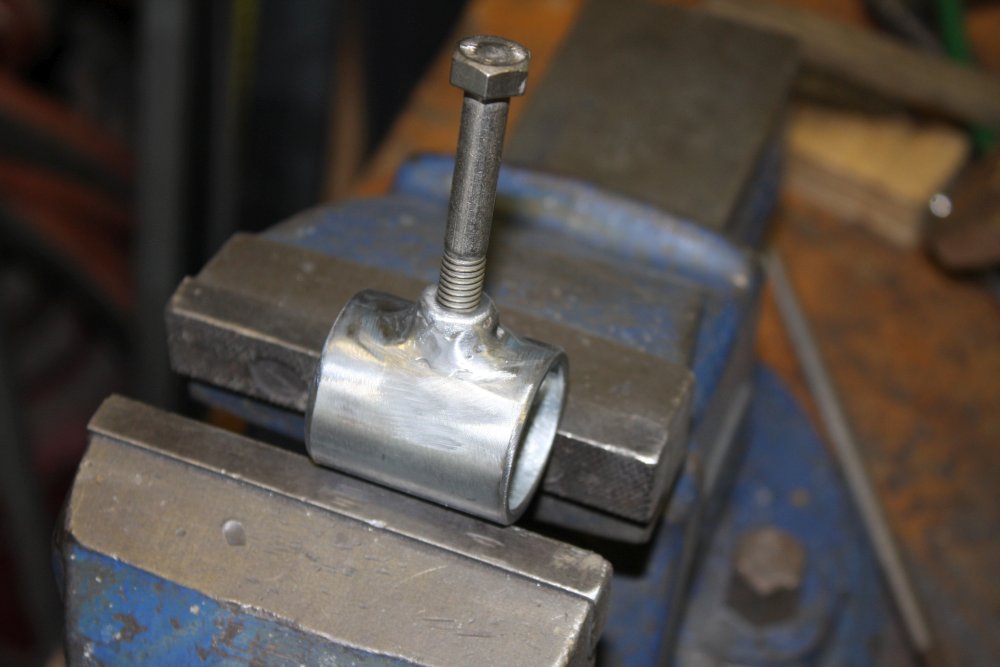
2 - 5. This 'nut on a stick' will be a welded insert inside the rectangular bar. This time I tried something new — having the hole in the flat piece threaded too, and aligning the nut and bar threads so that after welding together a bolt would screw in finger-easily. Instead of hopelessly out of sync. The trick is to screw the bolt into the flat piece till the head locks down (so the threads are tensioned the same way they will be in use), screw on the weld-nut till it has about the same tension on the same thread-side, then hold it with a lock nut. After welding both thread sections are in sync.
 |
 |
 |
 |
 |
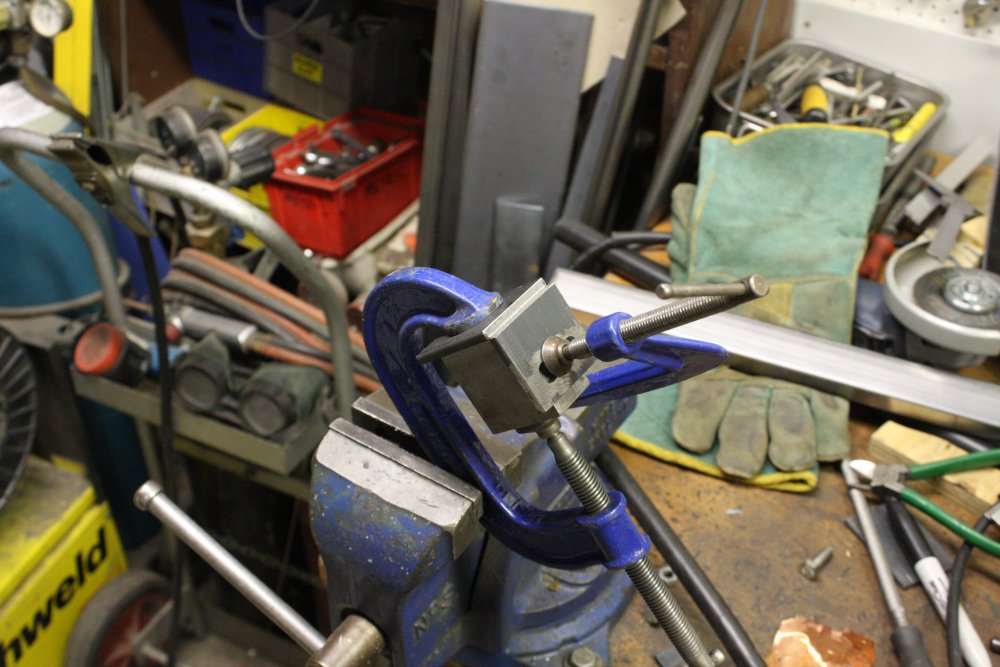
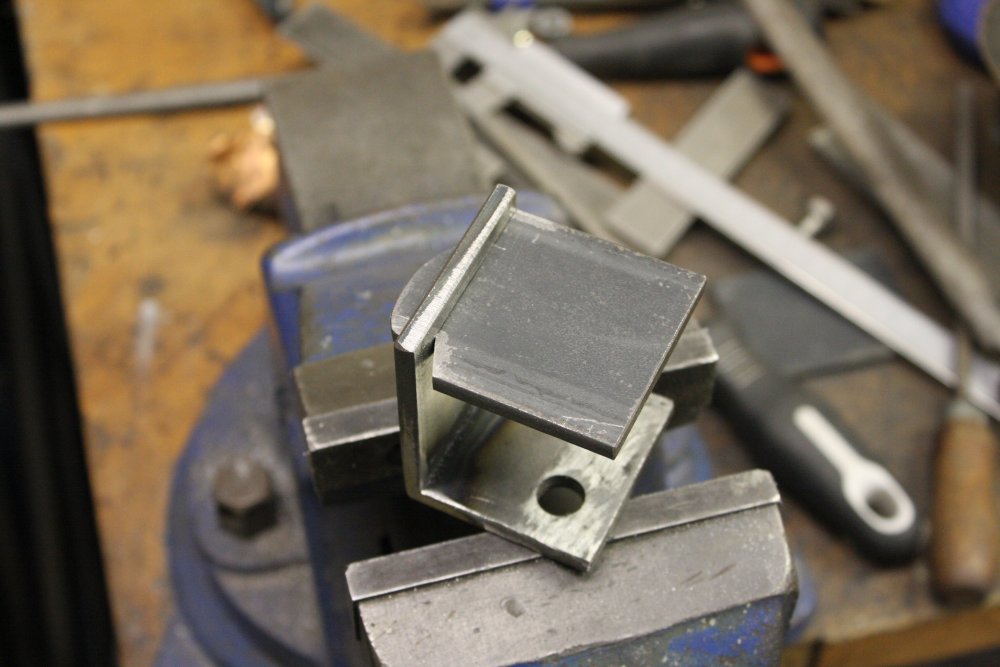
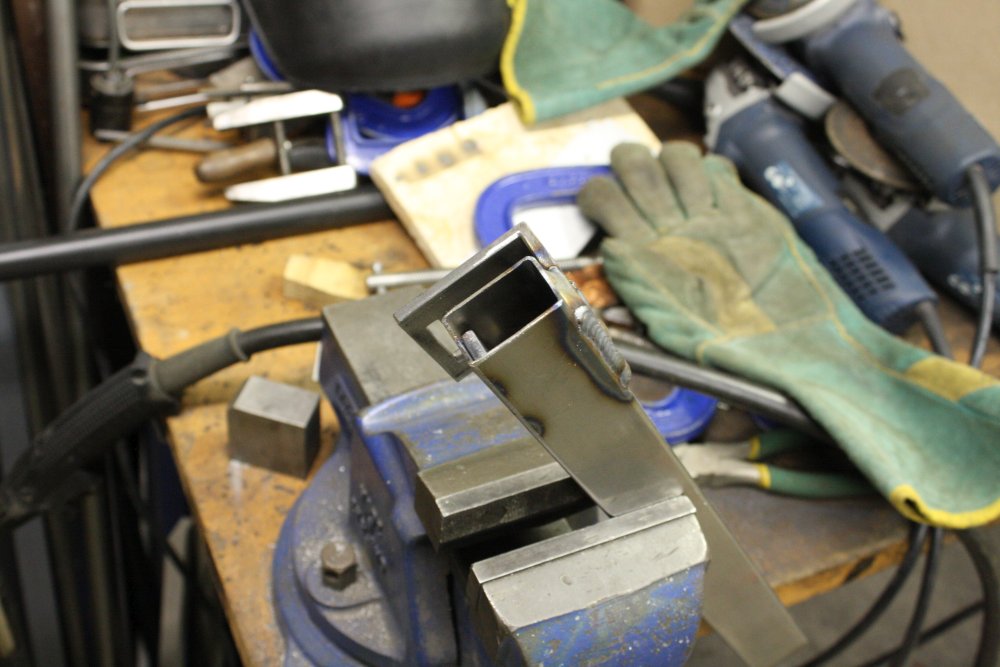
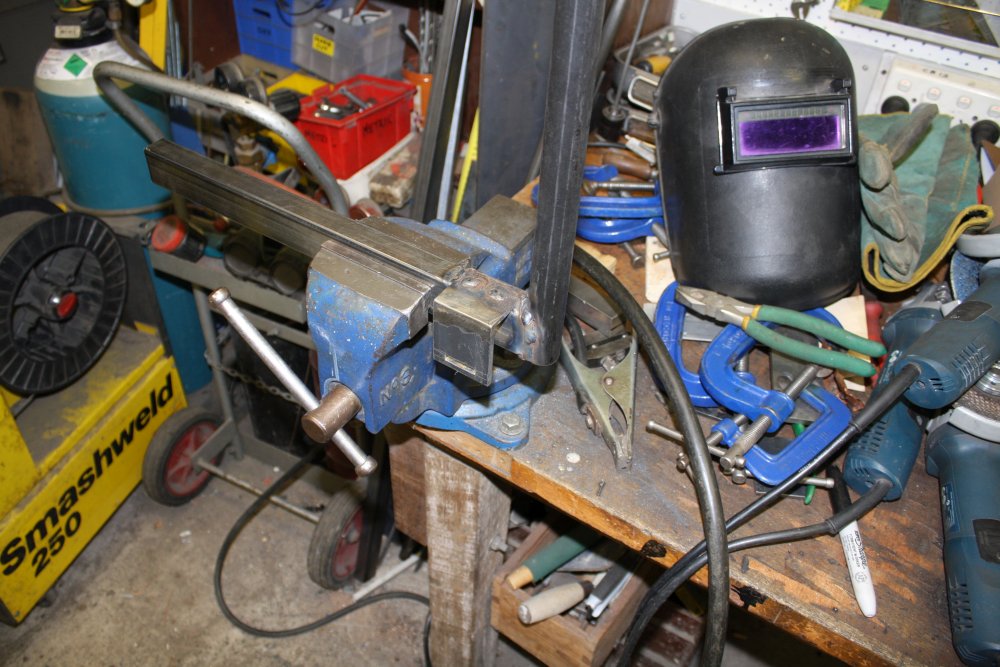
1 - 5. Making a solid square bracket with no inside radius fillet.
 |
 |
 |
 |
 |
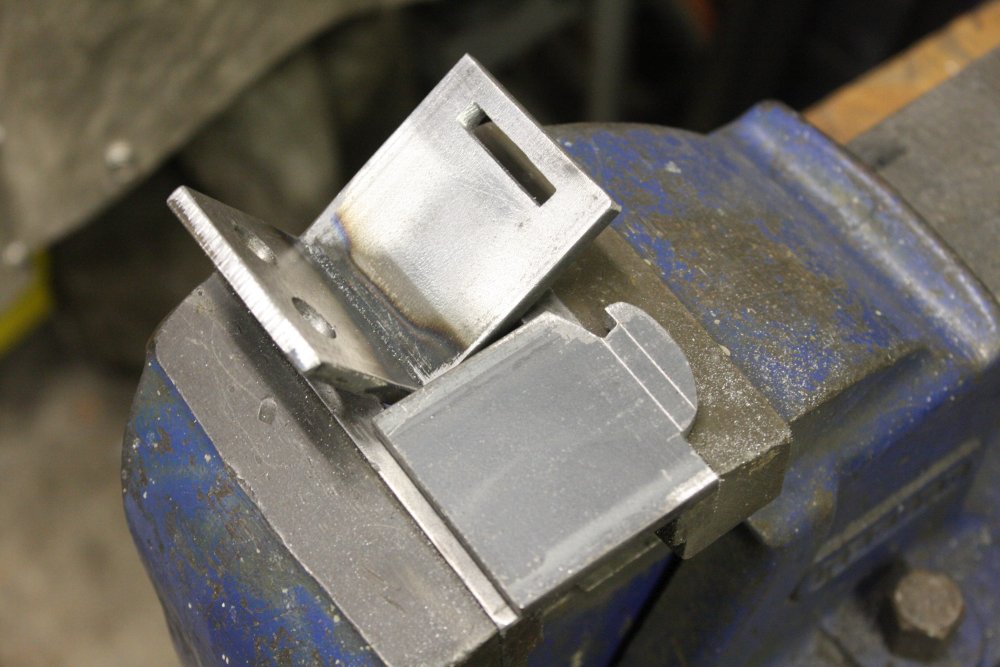
1 - 3. Needs a clip-in piece, to allow putting onto the bed frame. Urrgh, that was a lot of file-to-fit.
4, 5. Welding in that nut insert.
 |
 |
 |
 |
 |
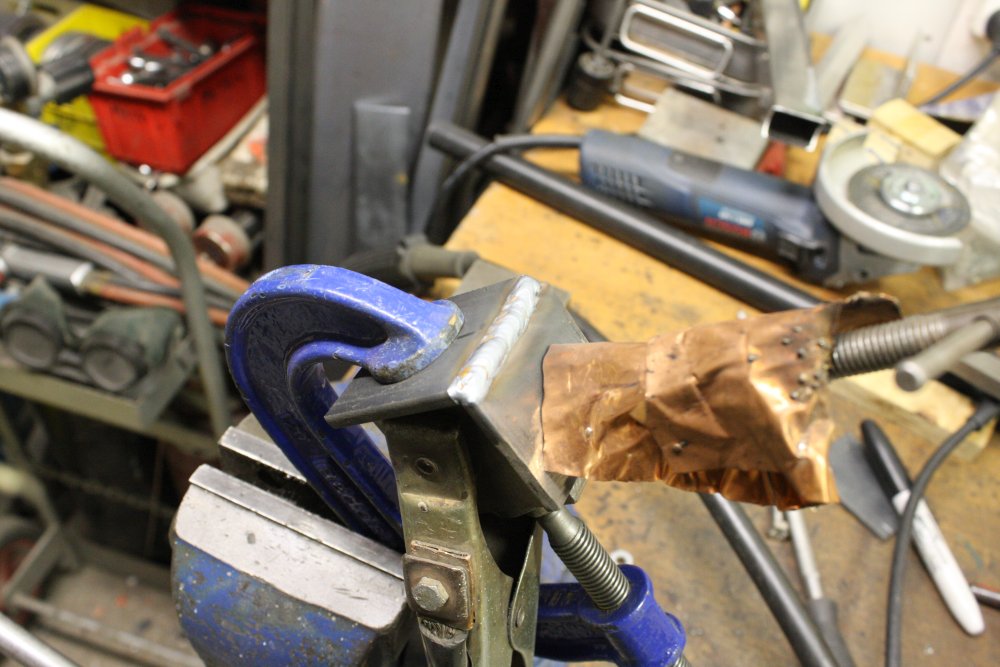
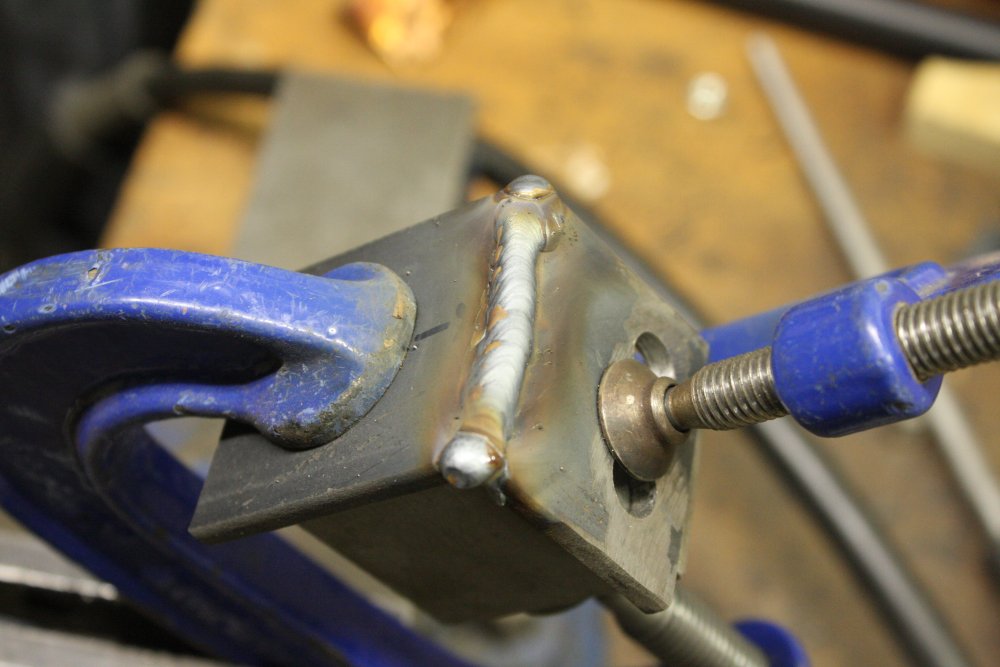
1, 2. Welding on the bracket.
3. Welding on the uypright bar.
4, 5. There has to be something to clip the lift-bed's control to. This is it.
 |
 |
 |
 |
 |
1. The clip thing, done.
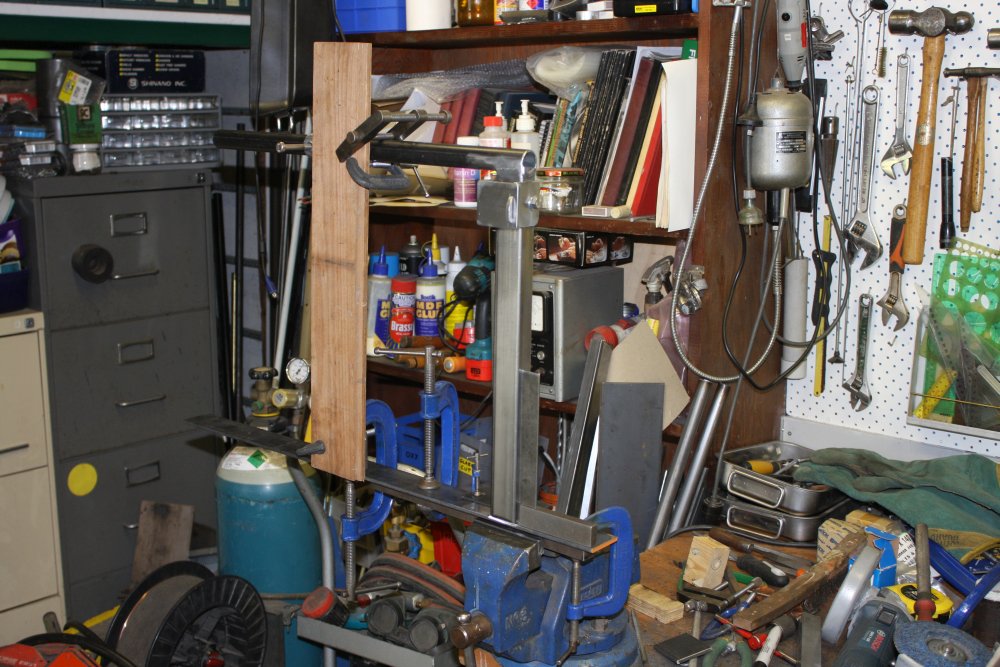
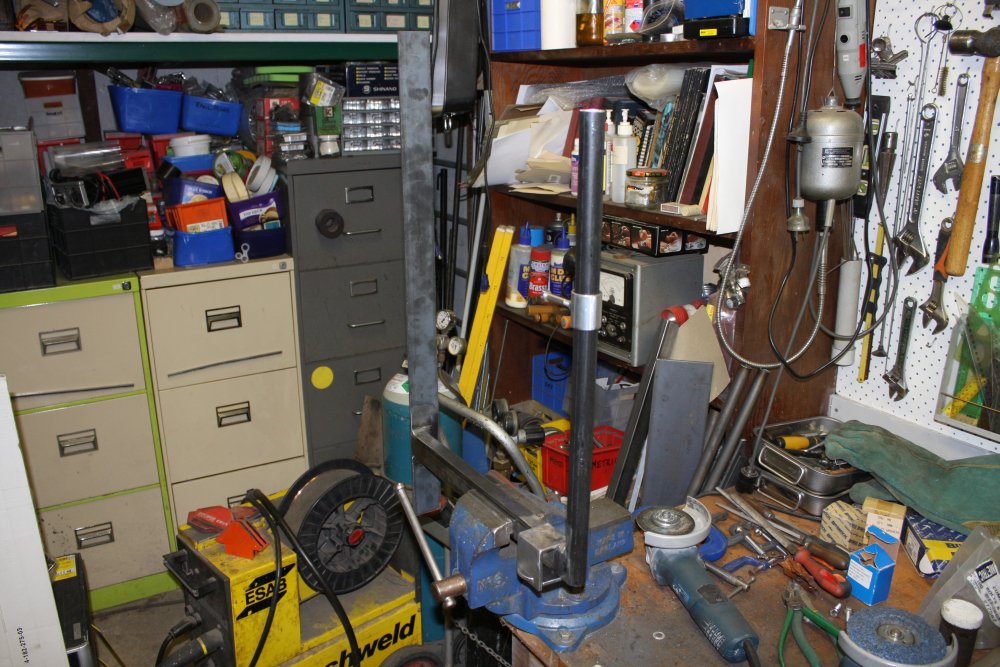
2, 3. Clamping up to get the next piece welded on parallel to the round bar.
4. All assembled. Except for the screw holes and final end cuts to match the bed.
5. Which, I'm not stupid enough to try getting exactly right by written measurements.
So next trip to mum's I fit the thing and direct-mark the locations.
 |
 |
 |
 |
 |
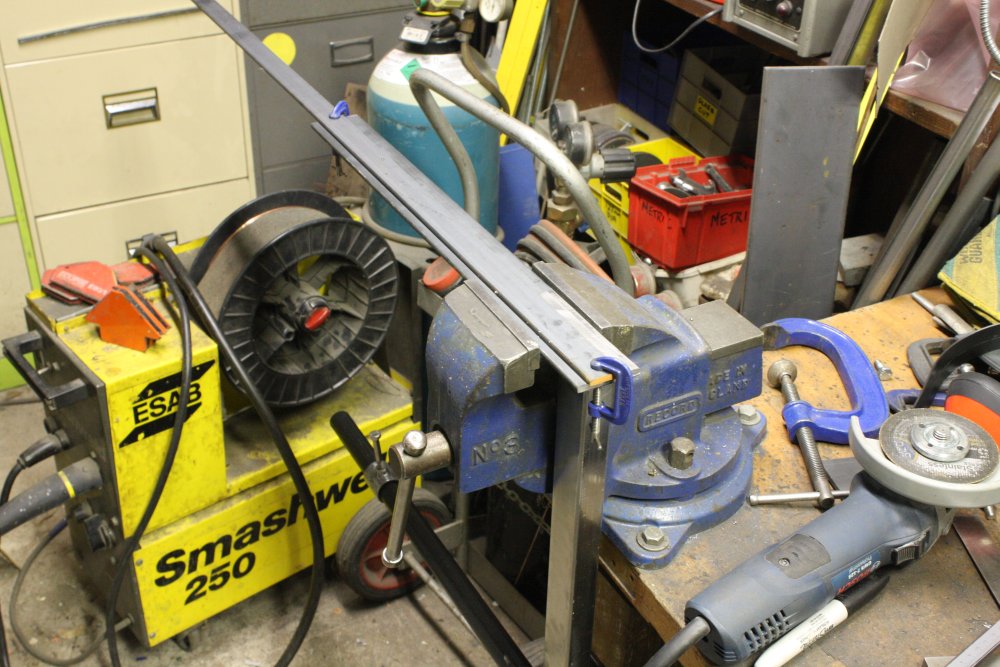
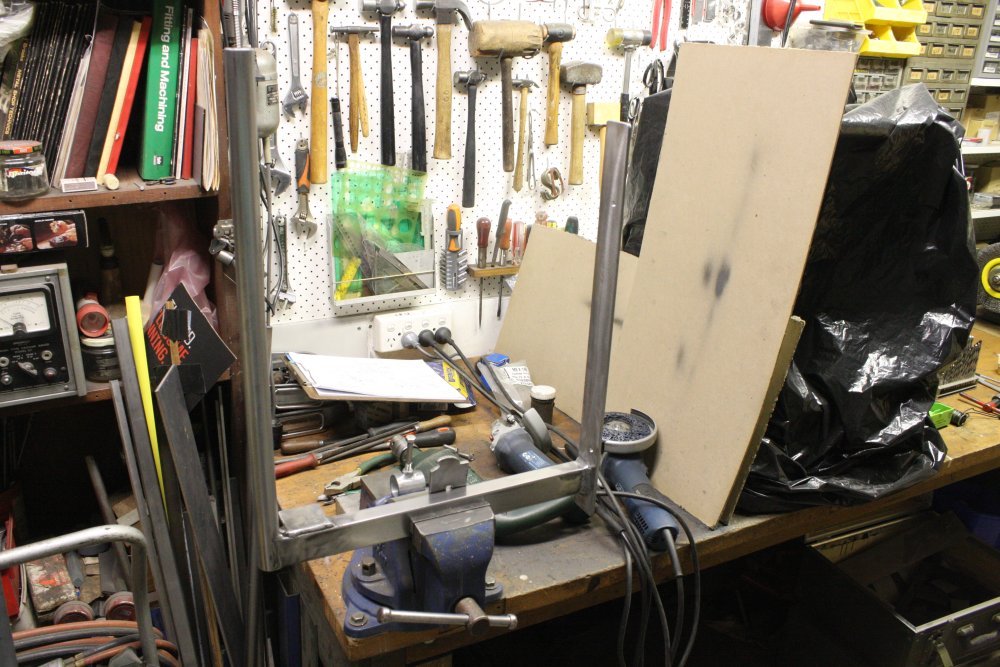
1, 2. Oh, did I mention that I wasn't able to buy a flat strip of the right width? So here I'm cutting off a few millimeters wide strip along the whole length. You can see the before and after sizes of the 3mm thick cutting disk too. The clamped-on strip of steel is just a guide. With the wheel only touching it very lightly on the side, that strip barely wears at all.
3. Taking off the 'black steel' oxide scale prior to painting.
4. Preparing to paint. Spot the mistake.
5. After first coat. Yep, I should have covered everything in plastic sheets. Turns out that white enamel's droplets adhere to surfaces even when they've been in the air for a while. The result is weird looking - my whole workbench was sort of 'greyed out' which makes it seem like your eyes are going bad, like some low contrast photo. Only back to normal (high contrast dirty) after a lot of scrubbing with turps.
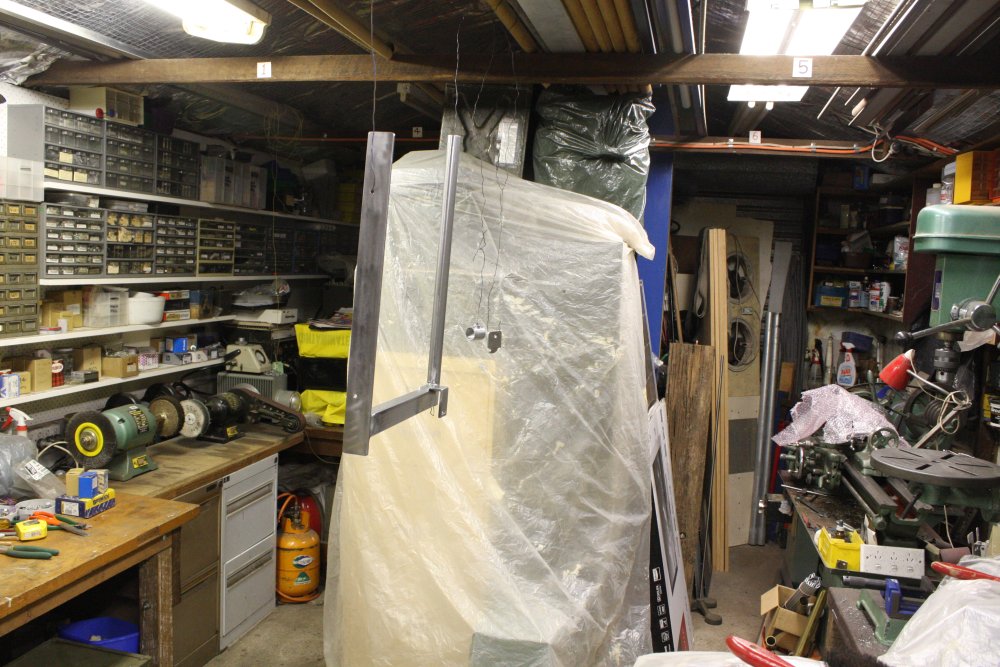
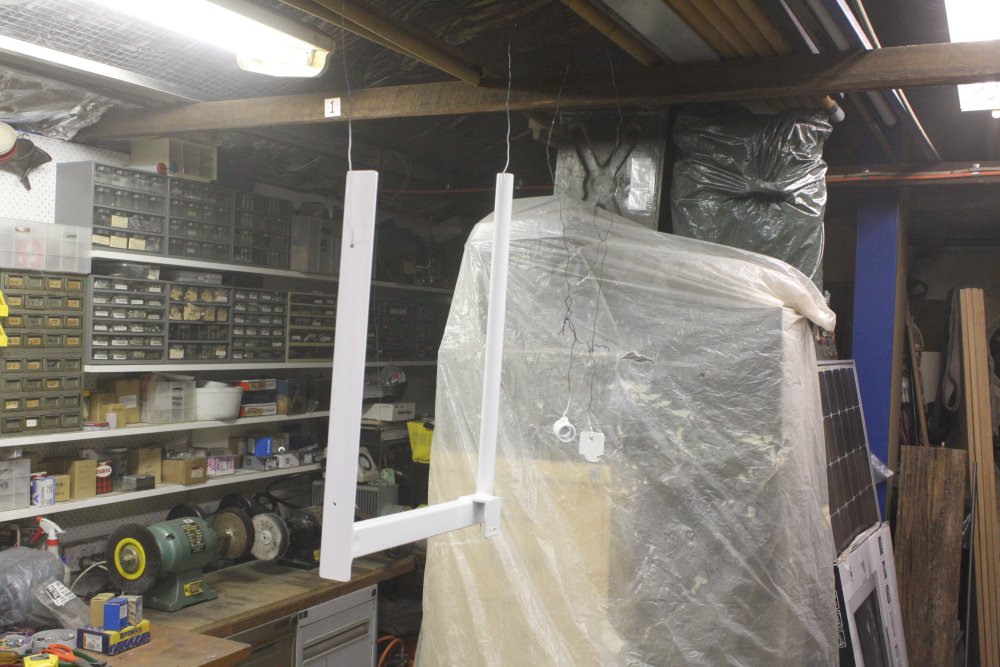
 |
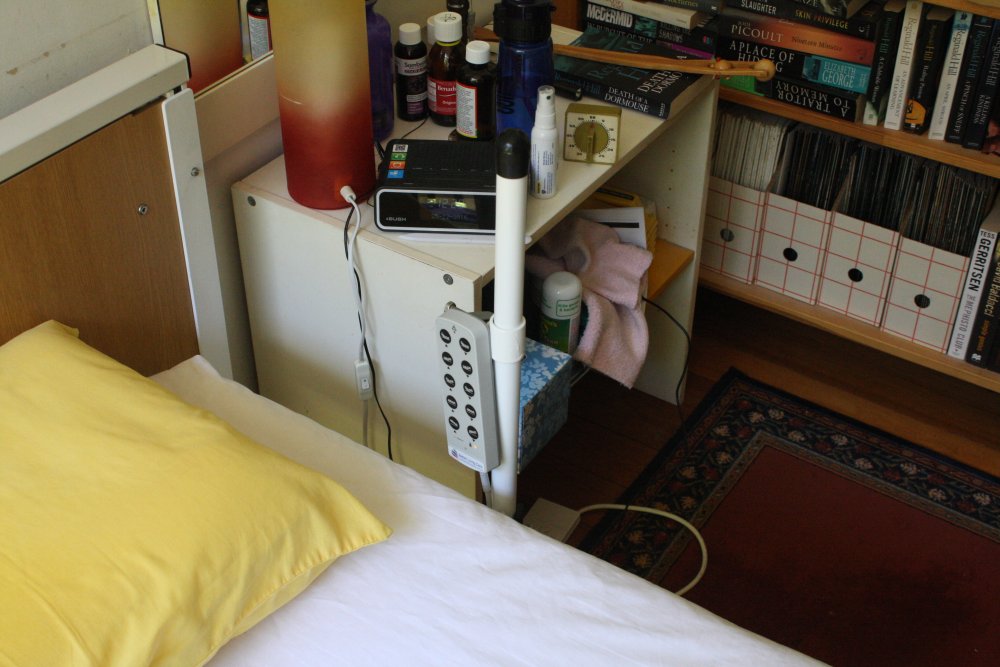 |
And there it is, done. (Except I still have to buy some nice stainless screws for that upright, instead of the old ones I found in my collection.)